Studio Storage Racks
Potters are always on the lookout for things to repurpose. After our recent move we had a leftover single mattress box spring. In order to haul it away more easily, Alan started cutting it up in the driveway. I happened by and noticed the metal interior structure looked like A large kitchen baking sheet organizer. Hummm ???…Ah ha, My “new” bat rack…or something. Alan graciously humored me as I described how to cut out two sections about 30 inches by 18 inches and then accommodated. The studio was still part makeshift workspace and construction zone. I happily added my new finds to the pile of “maybe I can use this” stuff.
fast forward. Now the barn-to-studio conversion is virtually finished. As I get organized, the old box spring’s innards are coming in handy. One is a bat and ware board rack on top of my throwing tool cabinet. I offset the bats so they dry quicker since the rack is steel and may rust over time. Another rack is being used for boxes, rollers, and sticks on a bottom shelf next to the slab roller.


Note: There are many different box spring “spring” configurations including coiled springs that would not work for this purpose. Check the configuration by looking through the box spring’s bottom dust cover before salvaging. Happy potting (and recycling)!

Graceful Teapot Handles
A flexible curve ruler is a plastic covered strip traditionally used for drafting, dressmaking, and crafts. It easily bends into graceful curves and holds its shape so it works well for planning bailed teapot handles. Bend the ruler to the approximate desired curve and hold up to the teapot to preview the handle shape. Refine the shape and recheck against the teapot until satisfied. Then trace the curve on a piece of cardboard, cut along the line, and keep the interior portion of cardboard. This will be the support template for the teapot handle.
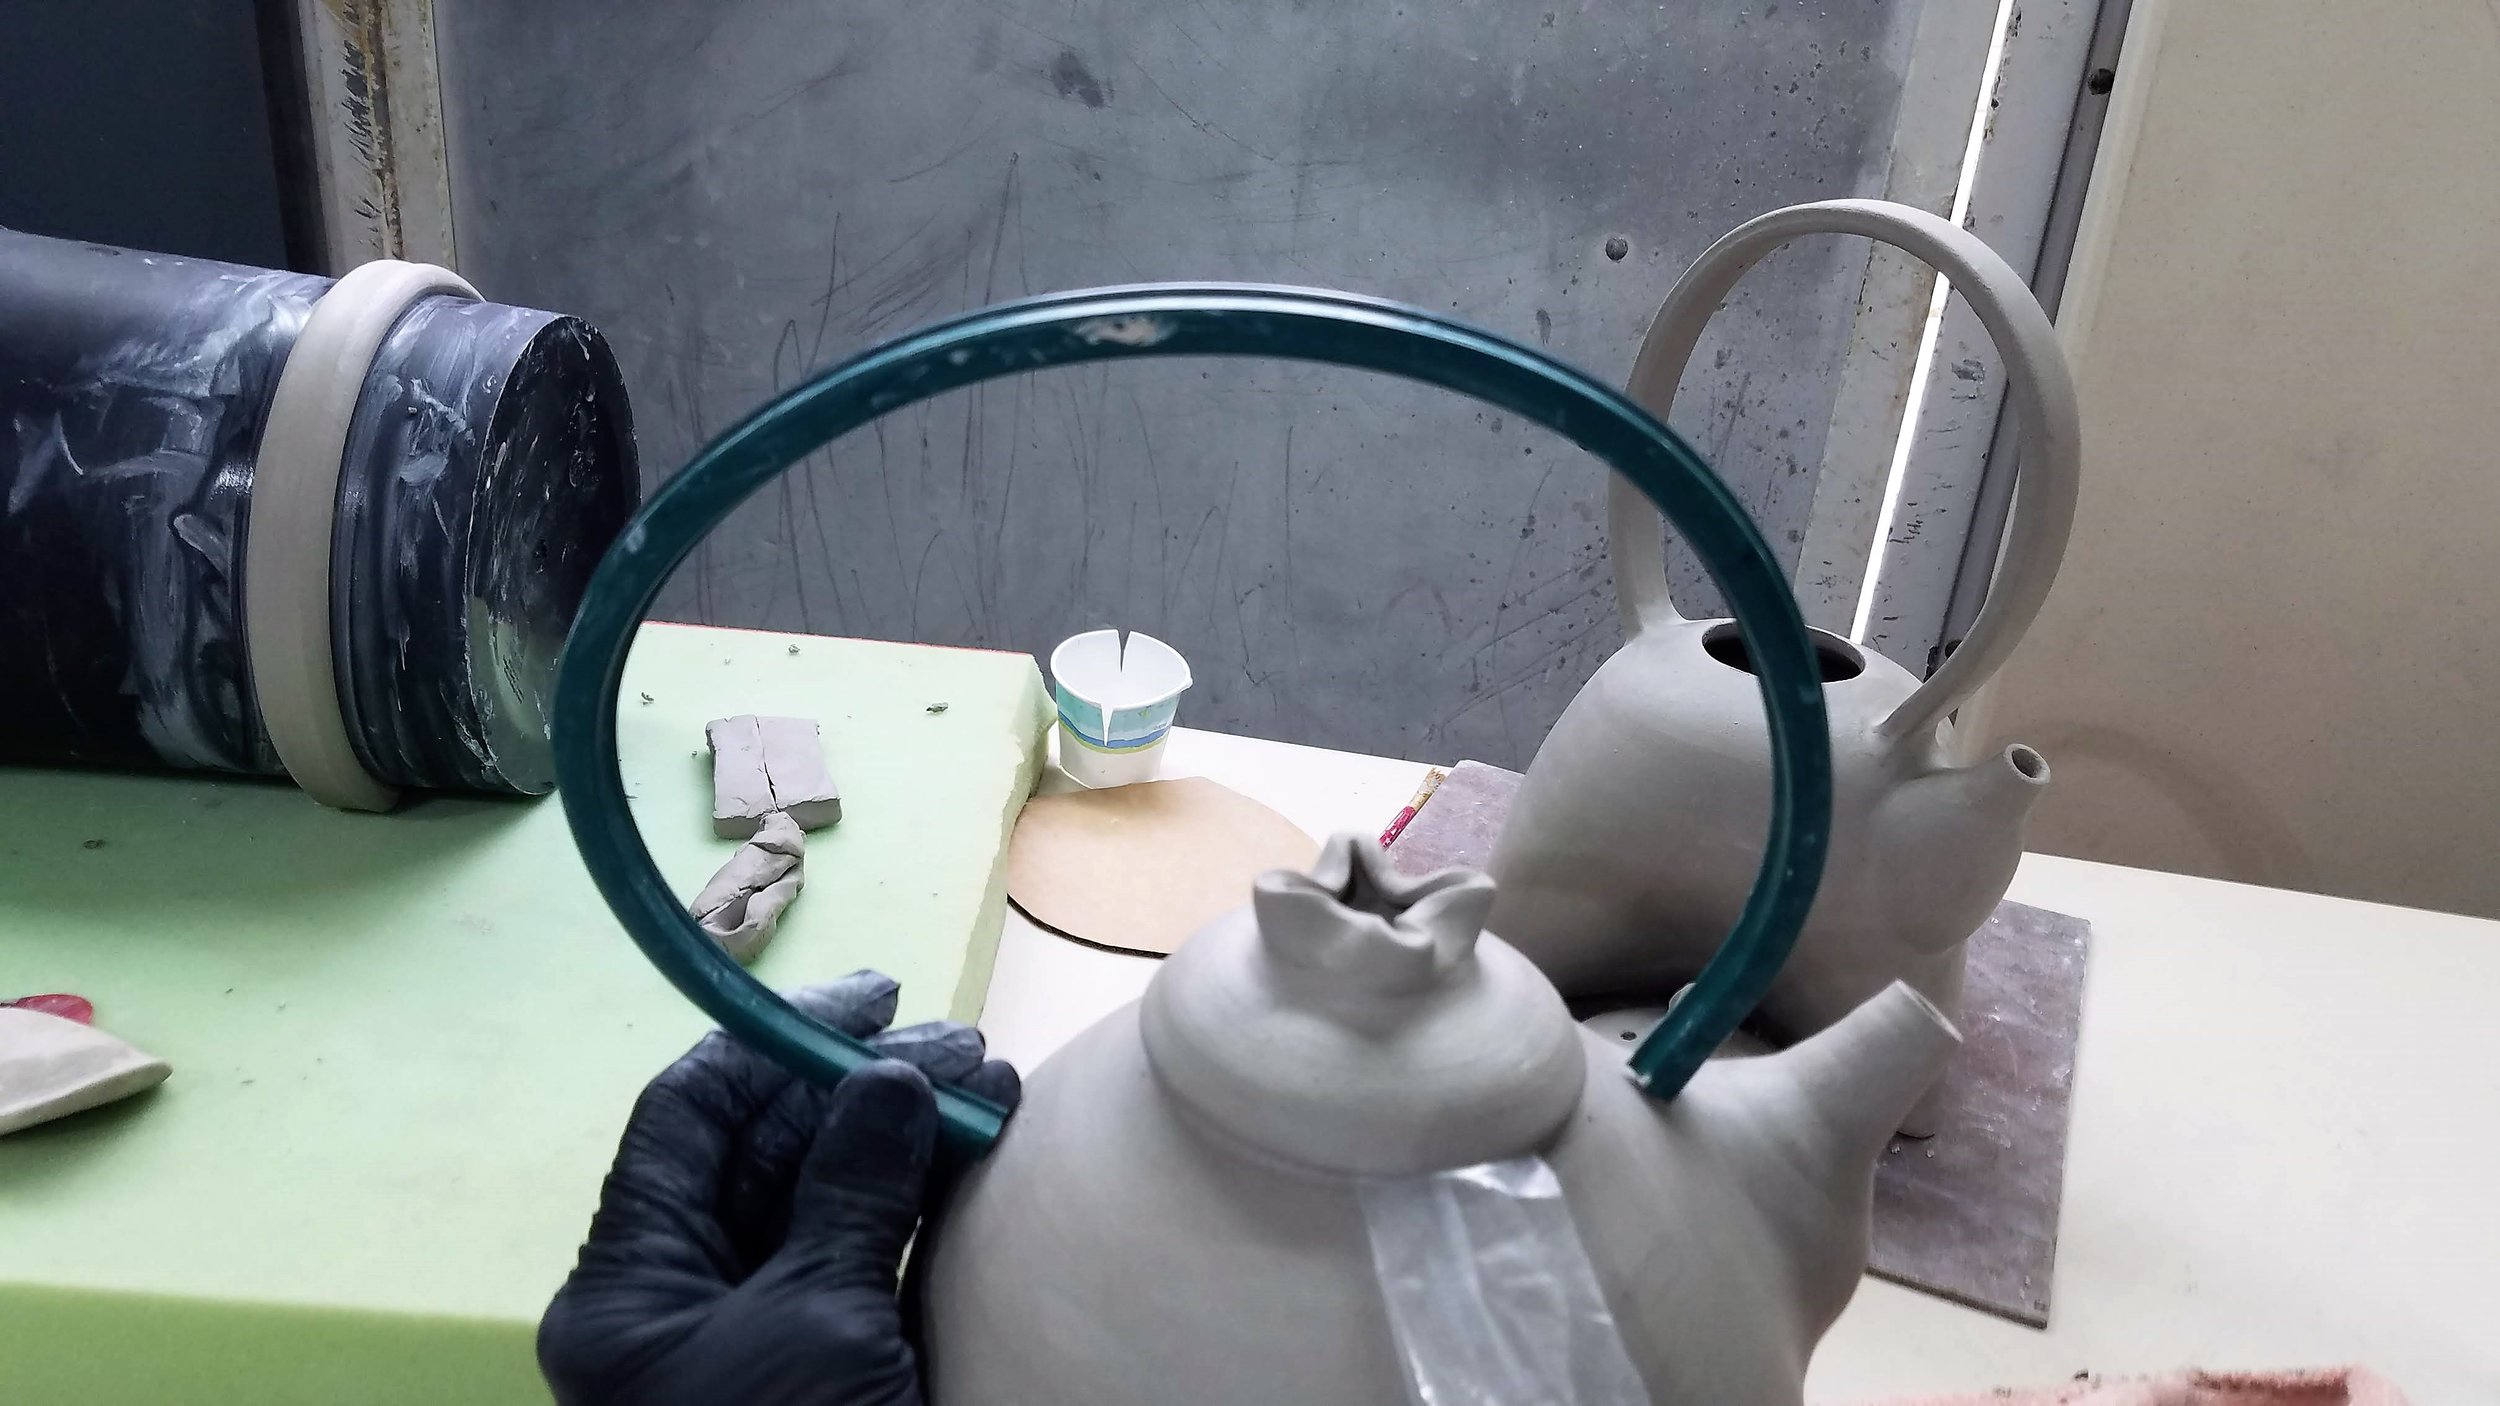
Flexible drafting curve helps design handle
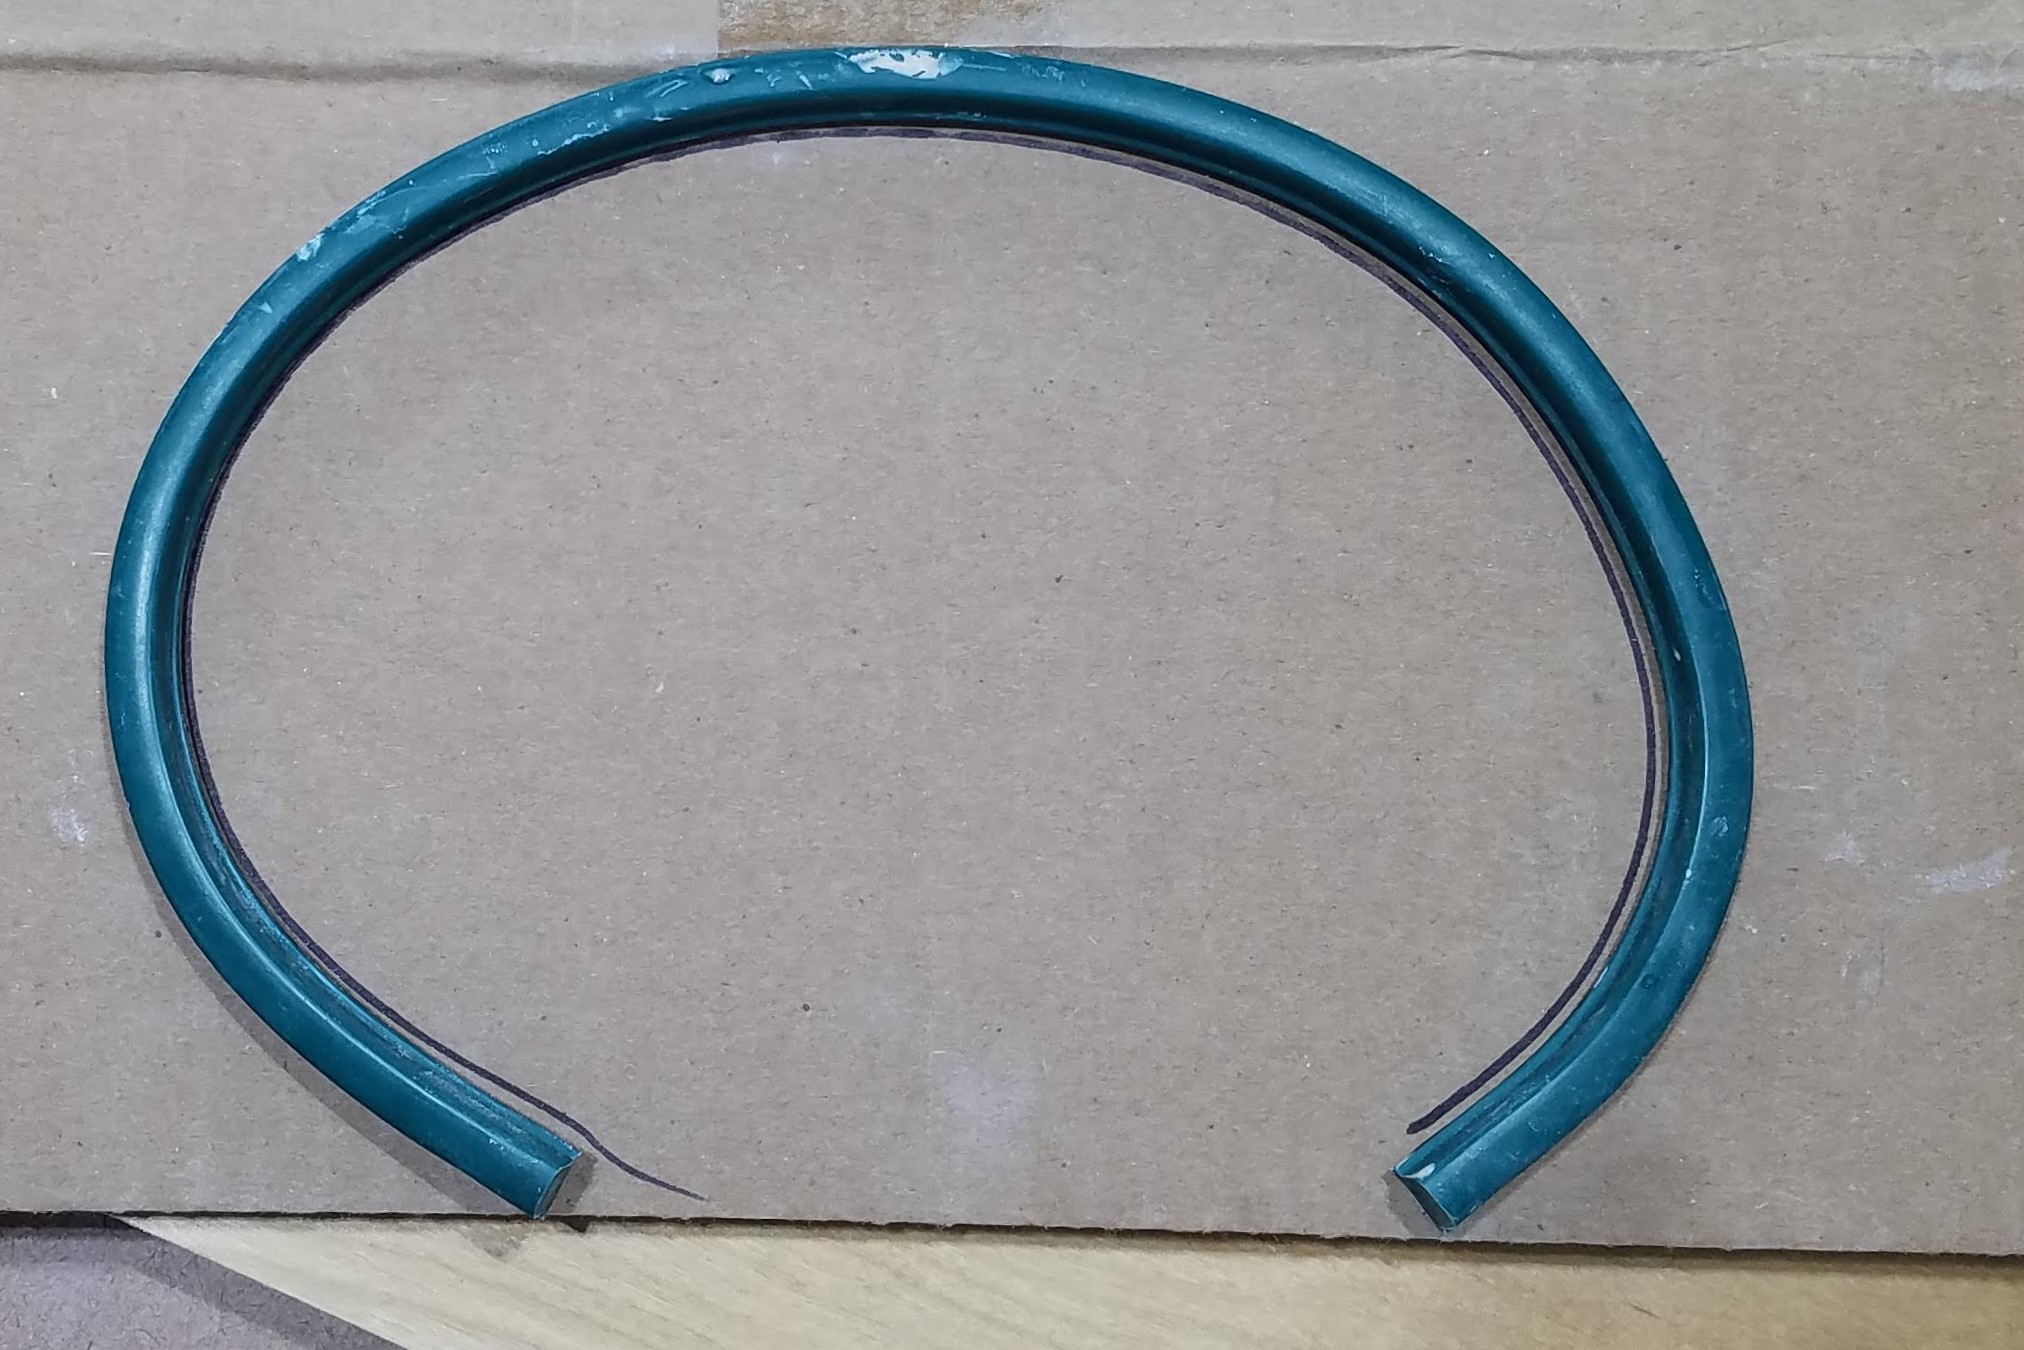
Trace curve onto cardboard and cut out

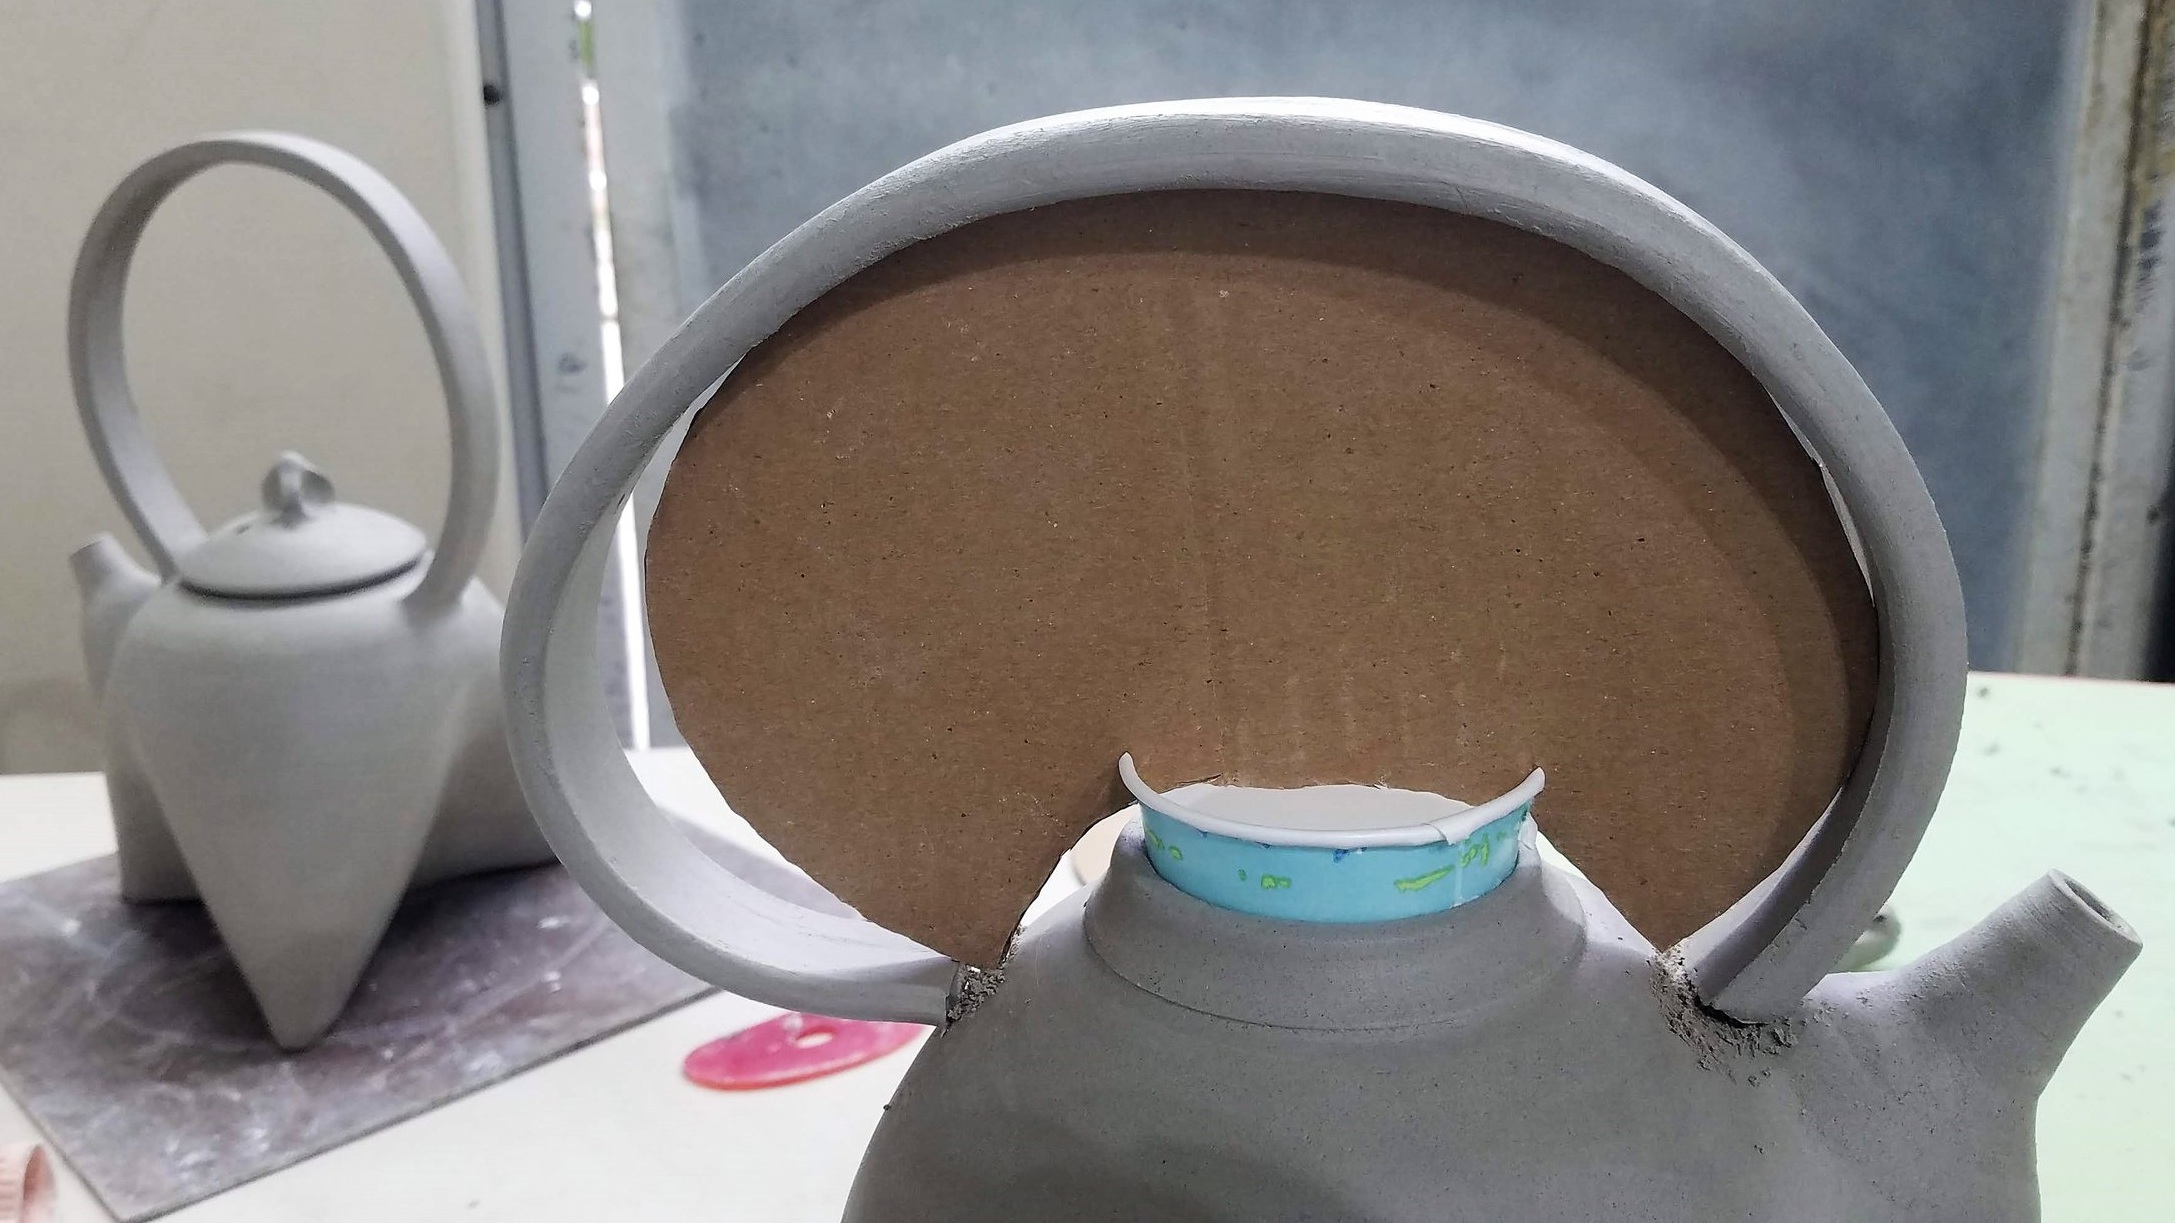
Use MKM Decorating Disk to mark handle attachment point; Note papercup rim under the disk
Find a paper cup that fits in your teapot opening with about ¾ inch extending above the teapot rim and an inch or more below the rim to add stability to the cup. Level the rim of the cup with the rim of the teapot.
Mark the attachment location for the handle. I used a MKM Decorating Disk on top of the cup to help align the handle and spout.
Make two slots in the top of cup aligned with the handle location marks and from the top of the cup to just above the rim. Insert the cardboard template. Review the shape and if needed remove the template, trim to refine the curve, and return it to the cup’s slots. When satisfied with the template drape your handle over the cardboard template and cut to length. Adjust the handle’s alignment along the center of the template. Check the curve again and if needed use tiny clay wedges between the cardboard and handle to perfect the curve. Check the template’s vertical alignment. To help maintain vertical alignment, attach a small ball of clay to the cup against the template.
Further refine curve and cut handle to appropriate length
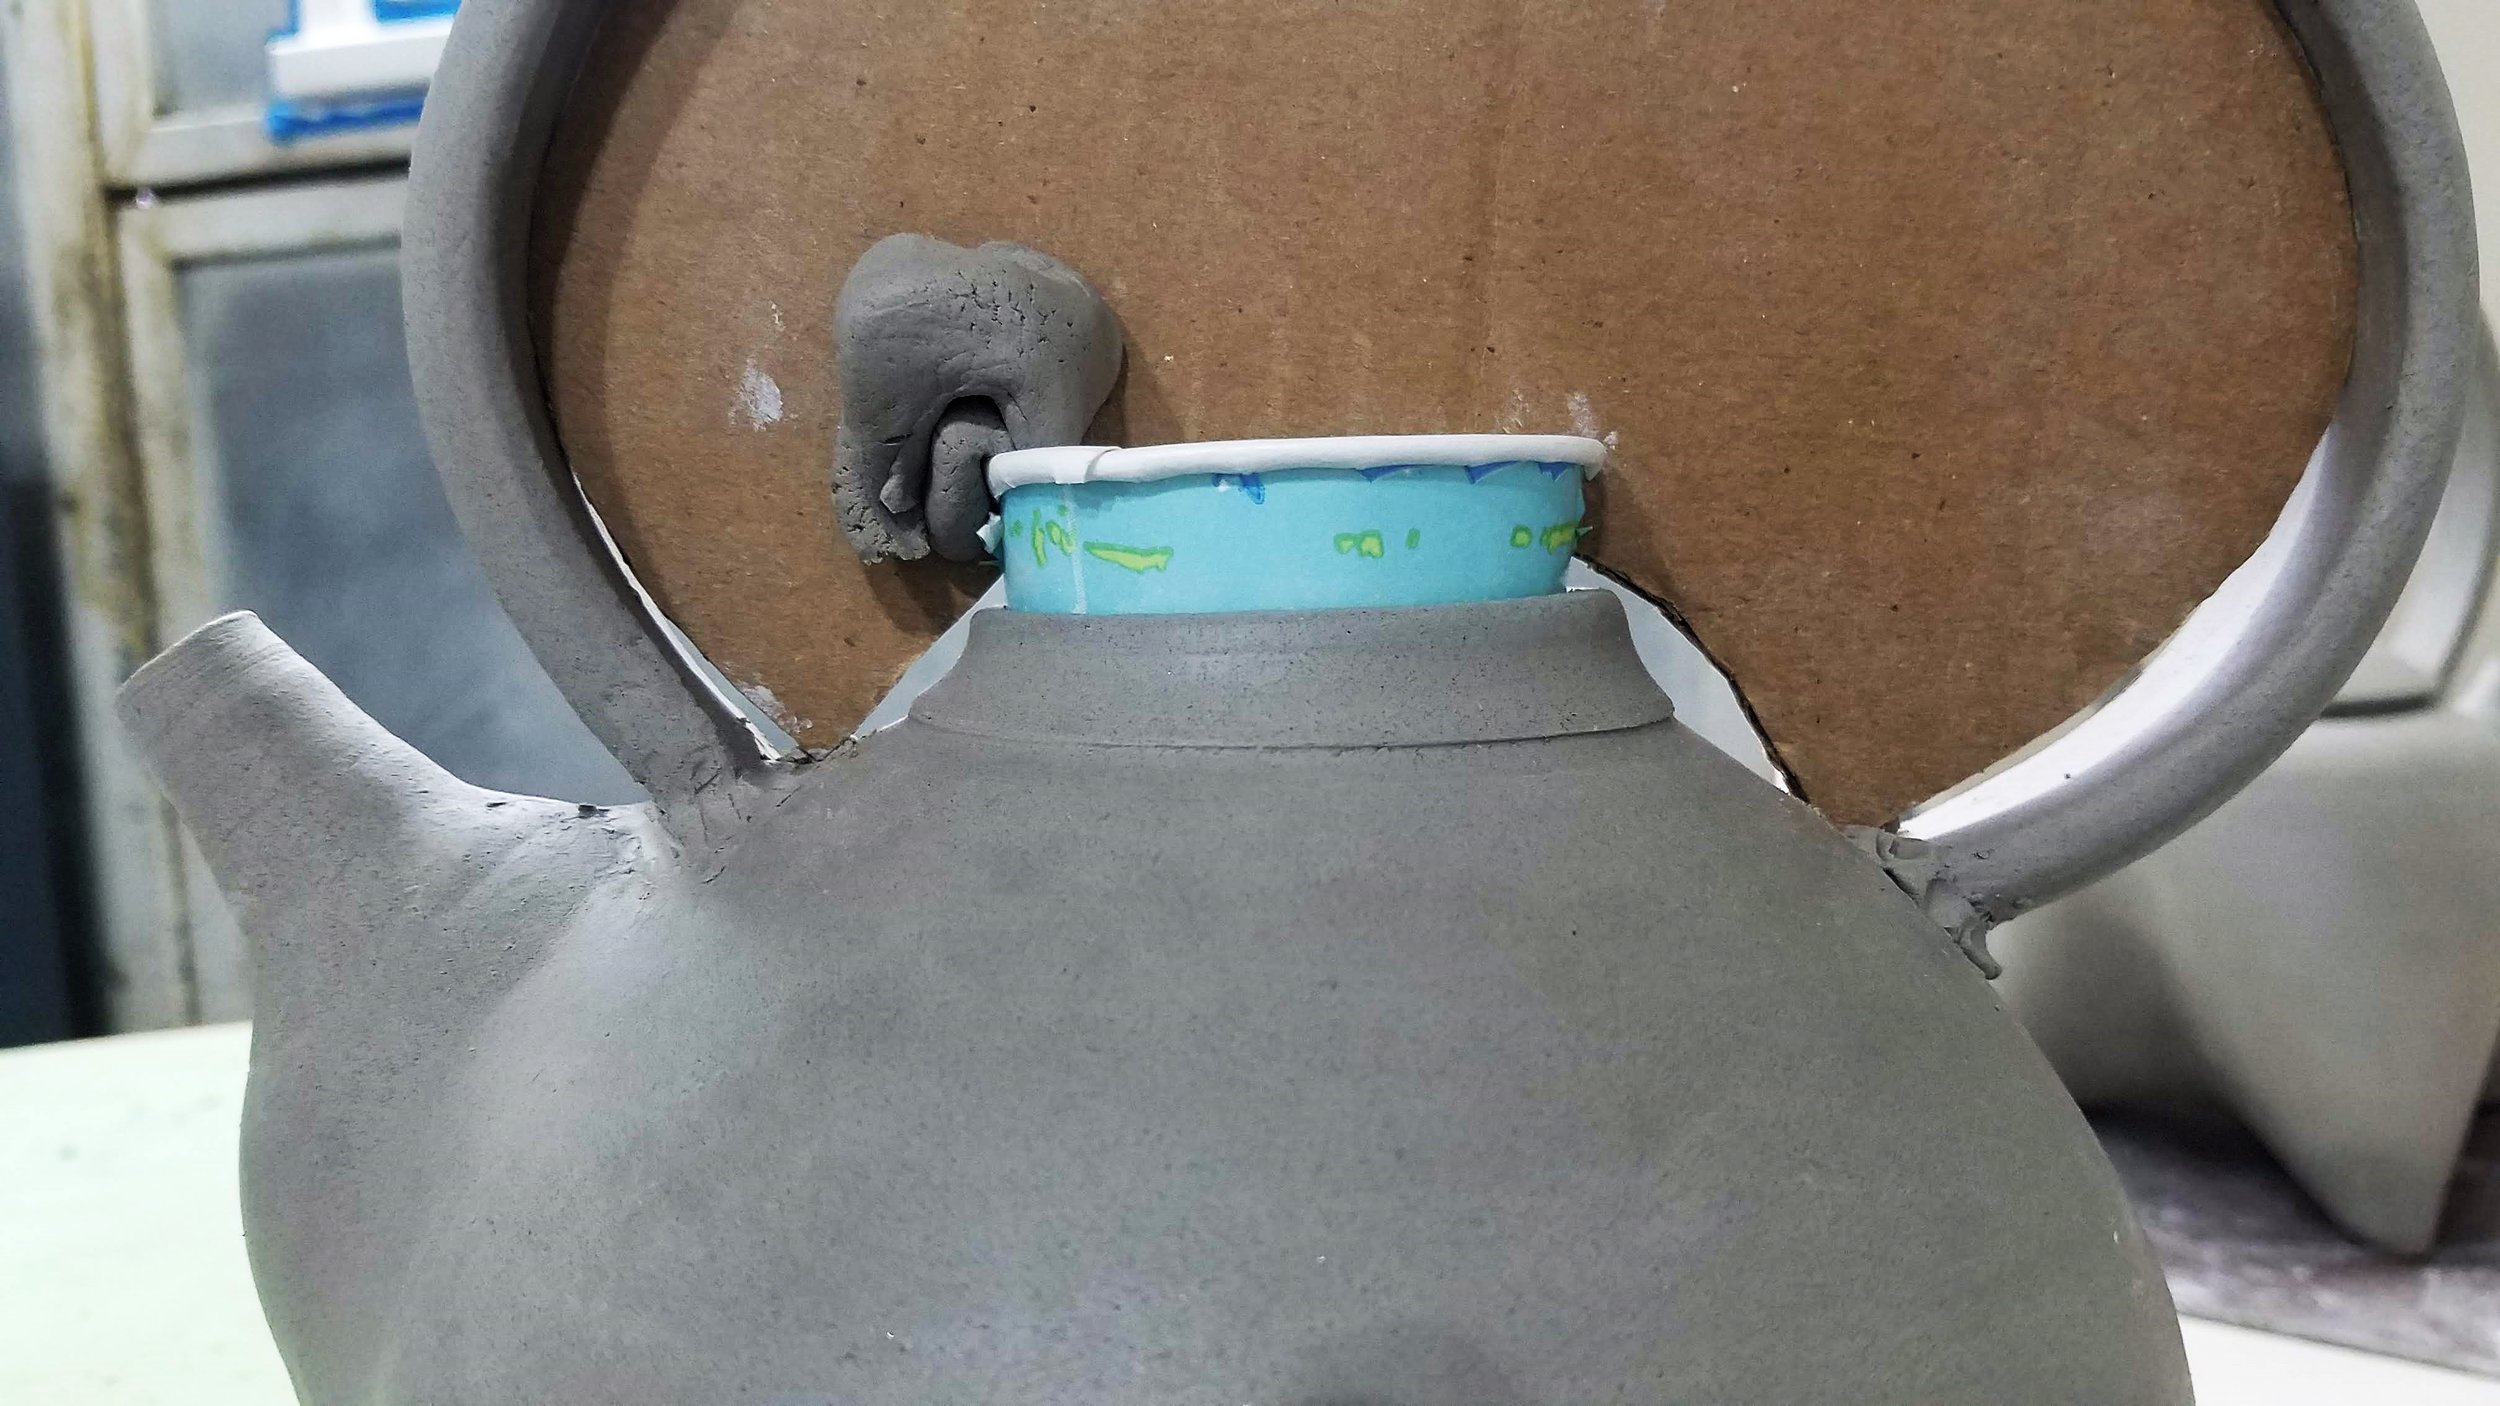
Align template vertically and secure with ball of clay pressed on cup rim and cardboard’ attach handle to teapot.